Lesson 5: Transferring files between collections
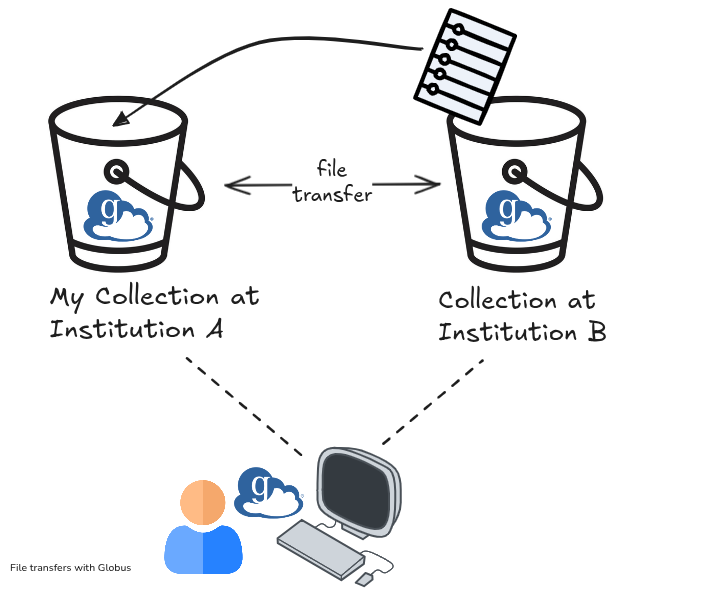
The Globus interface allows easy transfer of files between collections without having to download them to your local machine.
After completing the previous lessons you should have two bookmarked collections, with a file in Globus Tutorial Collection 1. Collection 2 should be empty.
In this lesson we will:
- view 2 collections at once using the dual pane view
- create a folder on Collection 2
- copy a file from Collection 1 to Collection 2
- copy a folder from Collection 2 to Collection 1
Opening the Dual pane view
The dual pane view allows you to see 2 collections at once.
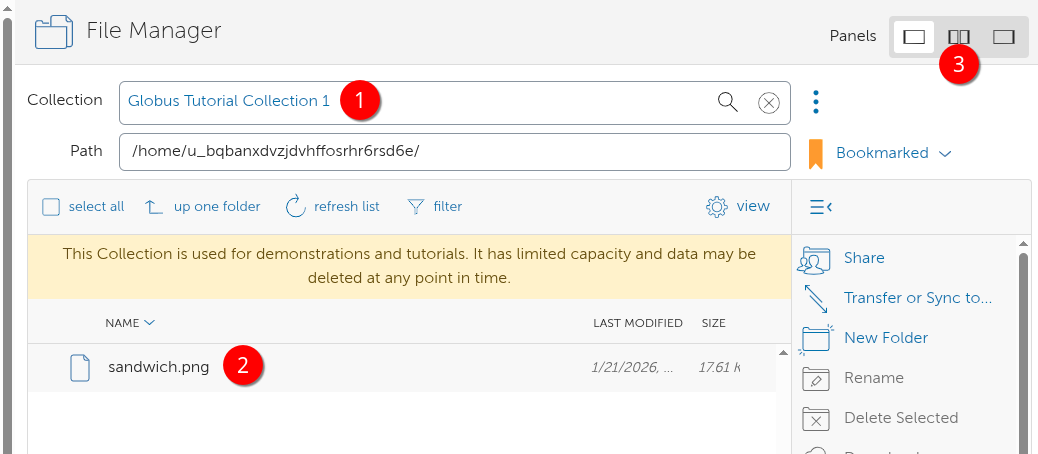
- Begin by opening Globus Tutorial Collection 1 either by searching, or accessing via the bookmarks, as shown in the earlier lesson.
- Confirm that your test file exists in the folder.
- Click the dual pane icon. This will open a dual view where you can see the content of 2 collections at once
On the right hand side you can now add Globus Tutorial Collection 2 by clicking in the search area marked (1).
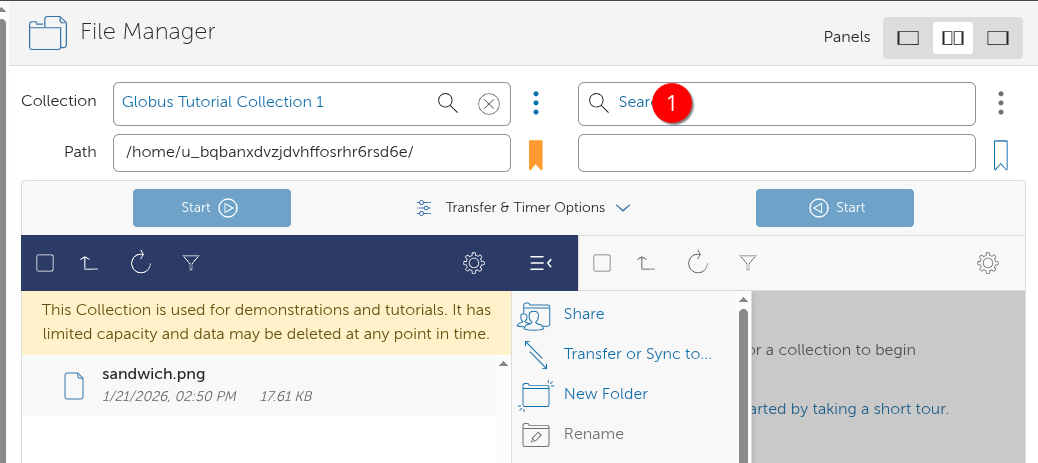
After adding the view of the second collection, note that the inactive collection is greyed out. Performing any actions such as New Folder, Rename, etc are applied to the current active pane.
Create a folder on a collection
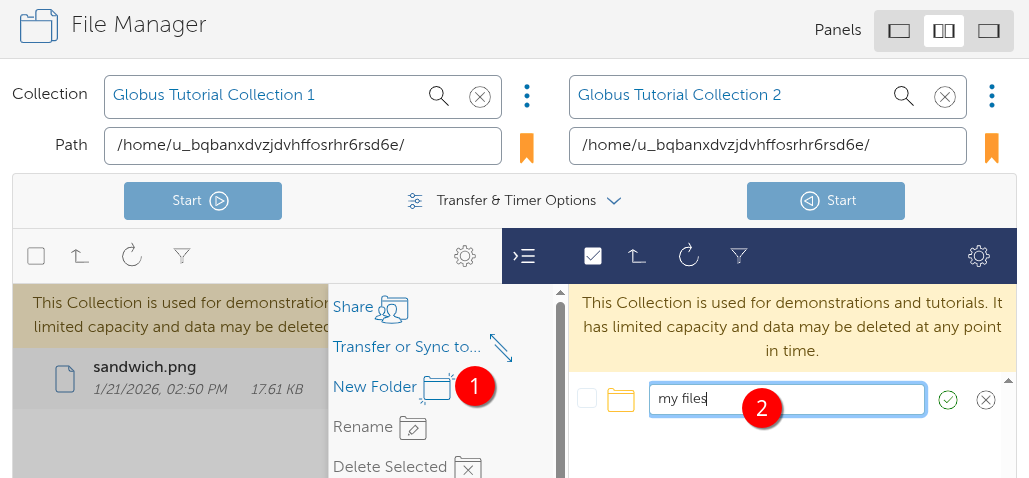
Let's make a new folder on the second collection to copy our file into. Ensure the Tutorial Collection 2 is active, by clicking on the area where the files are usually shown. Then click New Folder and choose a name. In the example below, we've called it my files
Copying a file between collections
Make the left hand pane active again by clicking the area where the files are usually shown. Hover over the test file i.e. sandwich.png in our case.
Select the file by clicking the empty checkbox (1) , then choose Transfer or Sync to..
The right hand pane then becomes active. Double click on the folder (i.e. my files) to enter it - now showing an empty directory (2). Notice the path changes to show you have entered a sub-directory (3)
![]()
Now click Start to begin the transfer (4). You will see a notification similar to below:
![]()
- Click refresh list to see the result of the file transfer.
- Finally, copy the new folder and its contents to Collection 1.
- On Collection 2, click Up one folder, hover over the folder and select the empty checkbox, ensuring that it is now ticked.
- Click Transfer or Sync to...
Collection 1 becomes the active pane, and you can choose a location to copy it to. Since we have no folders on Collection 1 we will transfer to the existing folder. Click the Start button located under Collection 2 which has now become Dark Blue.
Following a successful transfer, click refresh list on Collection 1 and confirm the folder and its contents have been copied.
Using this transfer method you can bulk select multiple files and folders for transfer. Very large file transfers will take some time. For this reason, you receive email notifications when a transfer has been completed.
After a file transfer is requested, Globus takes over and does the work on your behalf. When transferring between two Globus Connect Server collections, you can navigate away from the File Manager, close the browser window, and even logout.
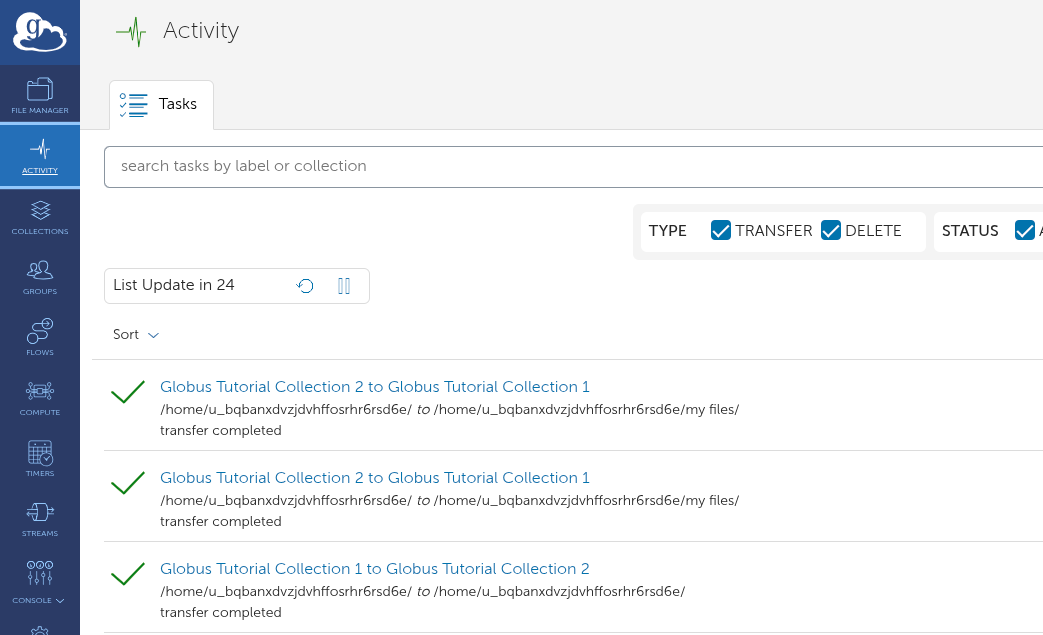
You can monitor your recent requests and activity using the activity tab, shown below. Failed or stalled operations will also show here.
You can read more about transferring files on the official Globus docs